×

The Standard e-Paper
Kenya’s Boldest Voice
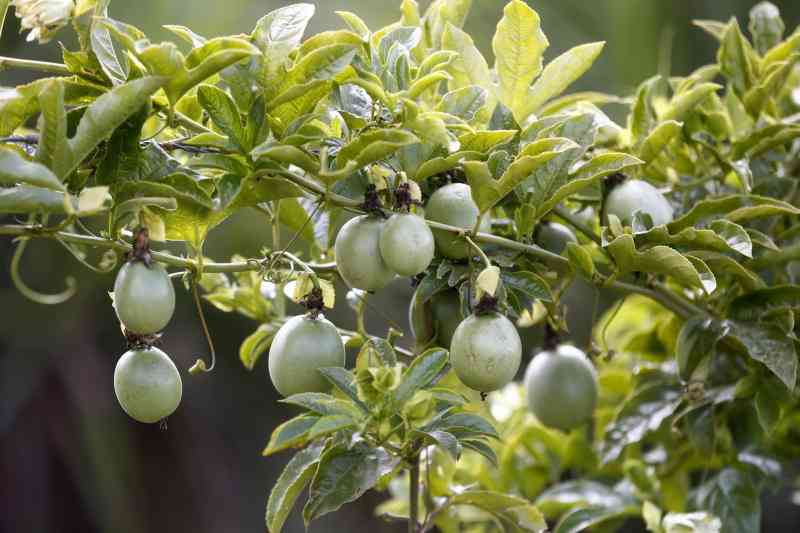
It thrives in well-drained, sandy-loam soils with a slightly acidic to neutral pH level (6.0 to 7.0.) [Kipsang Joseph, Standard]
Granadilla passion farming is a promising agricultural practice that is gaining popularity in Kenya.
Subscribe to our newsletter and stay updated on the latest developments and special offers!